Your cart is currently empty!
prize ribbon distress: embossing glaze bouquet card
Hi there creative friends. Today I have a card for you with the new Distress color, Prize Ribbon. I have been asked so many questions about this card, so I took a few photos today so you could see the process.
This bouquet card was created using the new Prize Ribbon Distress Embossing Glaze along with the Distress Oxide to give it a super dark color. I have also layered embossing glazes on other projects in the past to make that color really shine. Here is a link to a project using Salvaged Patina and another link to a project using Kitsch Flamingo that I created for the Ranger Ink Blog (with a tutorial). Also one more with a Distress Embossing Glazed typewriter 🙂 this was an all time Instagram favorite. If you are not following me over on Instagram, I would love it if you did!
I have created a few step out photos that will hopefully make the process really easy. First, I want to give you a quick look at Prize Ribbon Distress Oxide next to what it looks like when you add the Distress Embossing Glaze.
To create the card, I die cut the Sizzix Bouquet Thinlits out of a piece of Distress Watercolor Cardstock measuring 4 1/2 x 5 3/4 and punched out all the little pieces using the Sizzix Die Brush and Pick Accessory Kit. If you don’t have one of these, it’s perfect to help get all those little pieces out of your detailed die cuts easily. It is essentially a foam pad and a brush with wire bristles that you roll over the paper with the foam underneath.
Once I had all the pieces punches out, I blended over the panel with Prize Ribbon Distress Oxide, then poured the Distress Embossing Glaze over the wet ink and embossed it with my embossing gun. After it cooled I added Distress Collage Medium to the back (being careful to add it to all those small areas) and added another piece of Distress Watercolor Cardstock underneath. (Yes, I know I still have to paint, and I will show you my tip for that) I placed an acrylic block over the top of it and let it dry.
Once the panel was glued. I put some Distress Inks in Mustard Seed, Fossilized Amber and Ripe Persimmon onto my Glass Media Mat and sprayed them with water using my Distress Sprayer.
I painted over the panel and filled in areas with watercolor with a big watercolor brush. This allows me to build layers and any watercolor that is left on the die cut piece can be wiped away with a cloth once the watercolor paper underneath is dry. It also allows me to see where I need more color as I go along.
I colored in the entire panel, let it dry, then wiped away any excess watercolor.
To finish the card, I added a sentiment from the Observations set stamped in Prize Ribbon Distress Oxide, and embossed with Prize Ribbon Distress Embossing Glaze. I adhered the entire panel using foam tape to a 5 X 6 1/4 card base.
Hope you enjoyed this tutorial and be sure to take a peek at the other projects I mentioned above if you’d like to see more Distress Embossing Glaze Techniques.
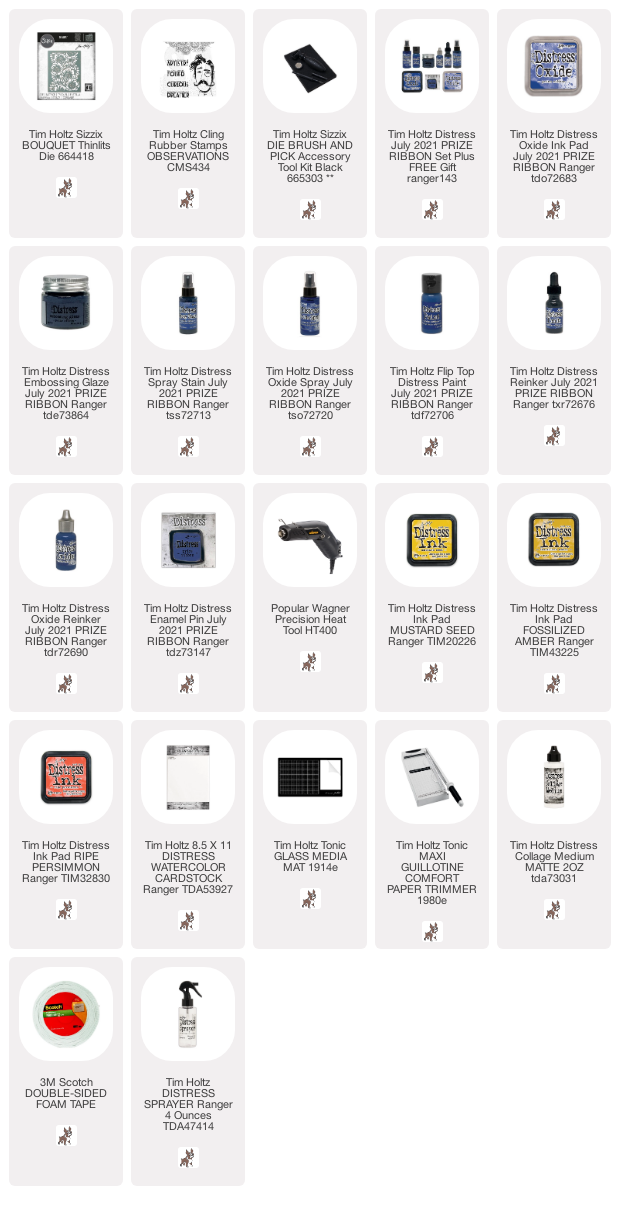
SUPPLIES: Shopping through these links helps me out at no added cost to you, if you do use them, thank you!
I participate in an affiliate program through Simon Says Stamp. I receive a commission when products are purchased through links here at this blog. All products linked below the posts of my creations are the actual products I used in creating my projects. I do not and will not share or review products that I would not personally recommend or use.
-
Ah…..this great step-by-step really helped me understand your process. The richness of colors and the contrast here are both over-the-top. I can’t wait to try it…..I need a shopping adventure, for sure. Thanks so much.
-
Thanks for the demo. You made it seem very easy
-
Thanks for the step-outs…adding the glaze really intensifies the color…WOW! Love this color combination, too!


Leave a Reply