Your cart is currently empty!
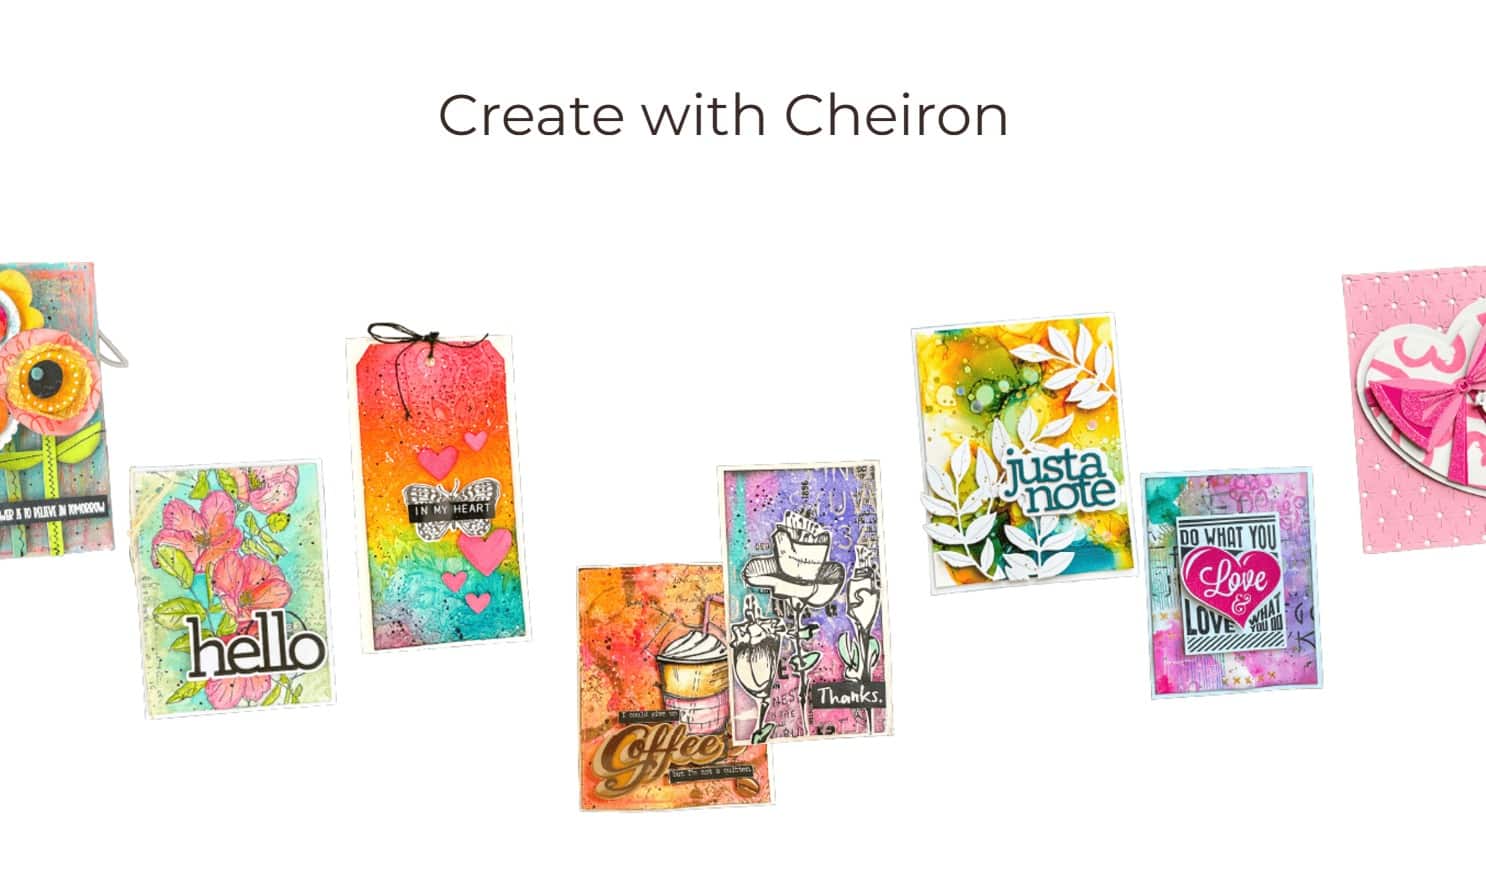
tim holtz holiday inspiration series: christmas wishes
I'm so excited to be joining a group of talented crafters sharing holiday projects with you during the month of November and beginning of December using all the latest holiday stamps and products from Tim Holtz! All the projects will be showcasing products from the new Holiday Season release. If you have not seen everything that has come out this season you can watch all of the Facebook Live product release videos HERE and just in case you miss any of the projects Tim will be sharing a weekly recap each Saturday over on his Blog.
Today I'm featuring this pretty Christmas wishes card. It starts out as one panel, and gets stamped, cut and layered back together to give it a little something extra for the holidays. I stamped all of this card panel using Distress Oxides, I love how vivid the colors are and how crisp the images come out. Here's a little tutorial on how I created it:
Stamp the flurry stamp with Broken China Distress Oxide on the panel using a Stamp Platform. This is great when you want to make multiples too!
Add the Christmas and Wishes sentiments, using Candied Apple and Black Soot Oxides, also using your Stamp Platform to line up the sentiment.
Stamp and fill in the pine branches in various colors of greens (I used Distress Oxides in Cracked Pistachio,Lucky Clover and Peeled Paint)
Once you are done stamping, let the panel dry, then cut a rectangle out of the center of the panel using the Sizzx Stitched Rectangle Thinlits die. Now it's time to create some dimension on the card when we layer it back together.
Adhere the outer part of the rectangle to your card base, then layer a piece of gold metallic kraft stock on top of it (this piece should be just a bit larger than your Stitched Rectangle). I also distressed the gold kraft stock edges a bit with my sanding block.
I added some color and contrast to the edge of the Stitched Rectangle with a bit of Tarnished Brass Distress Crayon on the edges of the rectangle to bring it all together. Adhere the Stitched Rectangle with foam tape on top to give it added dimension. With the Stamp Platform, it was easy for me to make a bunch of these cards at once!
SUPPLIES USED:
Tim Holtz/Stampers Anonymous Flurry and Pine stamps CMS312
Tim Holtz/Stampers Anonymous Christmas Classic CMS322
Distress Oxide Inks
Tim Holtz/Sizzix Stitched Rectangle Thinlits
Tim Holtz Idea-ology Metallic Kraft Stock
Metallic Distress Crayons Set

I participate in an affiliate program through Simon Says Stamp. I receive a commission when products are purchased through links here at this blog. All products linked below the posts of my creations are the actual products I used in creating my projects. I do not and will not share or review products that I would not personally recommend or use.
-
Another beautiful card! I love how you created the panel then cut it out to layer it. The colors look so pretty together!
-
Such a funky and fun vintage card with dimension without too much bulk! Such great colors and a lovely design. I’m intrigued with your use of the crayon here……another gem, you creative gal! Thanks!
-
Love those bright greens, such a great set of cards!
-
Thanks for the picture tutorial! Great card with lots of little extras but you break it down into simple steps for multiple cards
-
ooh I like this, I like the teeny tiny gold border. I need to try that trick with the crayons. Cx
-
Love all those greens together!! Wonderful card.
-
These are beautiful! I love the colors and it’s a fabulous vintage design!
Leave a Reply