Your cart is currently empty!
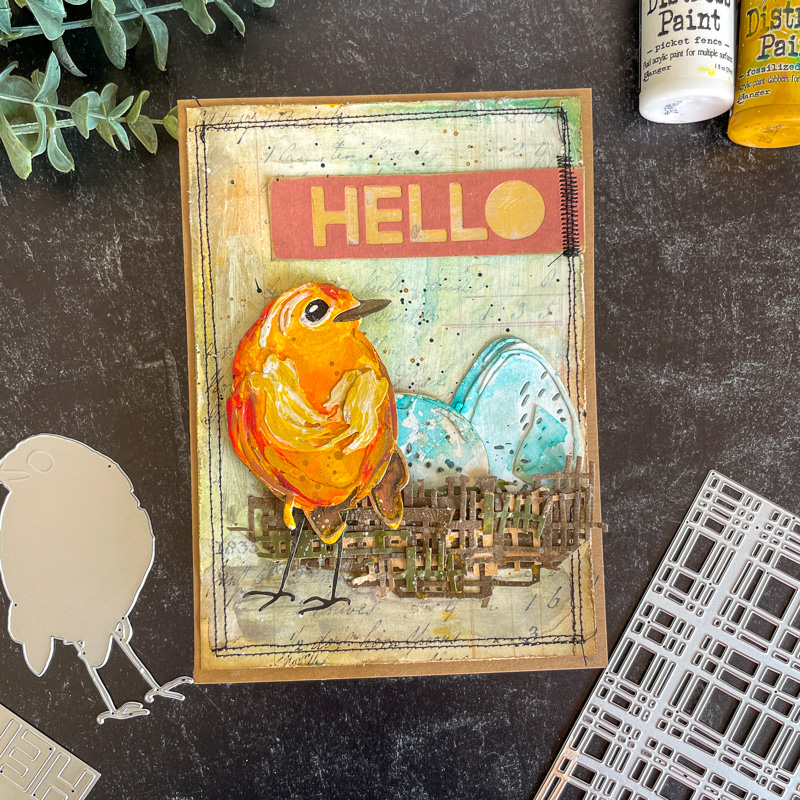
Hi there creative friends! Today I am sharing a card I made for last Saturday’s You Tube Live with Tim featuring his newest Chapter 1 release with Sizzix. This card with the new Colorize Bird and Egg die seemed to be very popular and so many of you loved the painted look…today I am going to share with you some of my favorite tips and tricks for putting this card together, and more importantly, a super easy way to color the bird using Distress Paints. Let me show you how. If you haven’t seen it, I posted a little reel of the painting process over on Instagram as well!
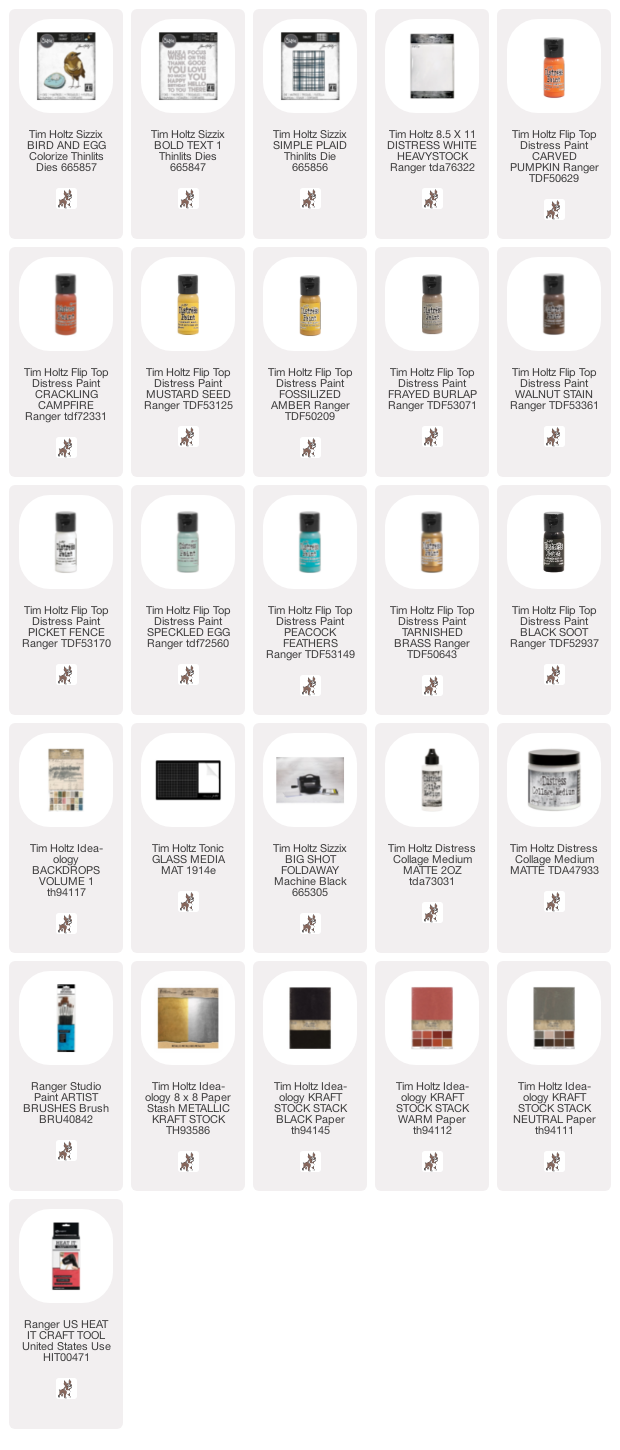
You can find links to the supplies I’ve used below; click on the picture of shop icon (the little Simon dog) to get taken directly to the product. I use affiliate links which means if you use them to make a purchase I receive a small commission at no extra cost to you 🙂 I truly appreciate your support.
I got so many questions about how I put the bird together, so let’s create our bird first. To get started, cut the first layer of the bird from the Bird and Egg dies from Blackout Kraft Stock. My easy peasy way to put this bird together is to cut the rest of the bird pieces out of Mixed Media Heavystock. See how all of the dies fit on a half sheet of paper? And let me tell you if you have not tried it yet, the new Big Shot Foldaway cuts these dies like a dream!
If you are not familiar with the colorize dies, they come with engravings on the back of them to let you know how to cut colors and assemble. You can see a video on assembling this die the traditional Colorize way here.
To begin, I cut the base of the bird out of Blackout Kraftstock. Then I took all the bird pieces (the ones labeled Brown 1-5) from a piece of Distress White Heavy Stock.
Then I arranged the cut outs in number order and adhered them together with Distress Collage Medium and let it dry.
Now that the bird is assembled, we are ready to paint! I used Distress Paints in Mustard Seed, Fossilized Amber, Carved Pumpkin, Crackling Campfire (oops forgot to put that one in the photo!), Frayed Burlap, Walnut Stain and Picket Fence.
I always create on my Glass Media Mat , so it was easiest to put a little bit of each paint color there and pick up with a paintbrush. I sprayed my paints a bit with a Distress Sprayer before I started painting.
I painted the first layer of the bird with Carved Pumpkin and Crackling Campfire. Then I dried the bird with my Ranger Heat Tool.
Then using a smaller (Round #2 size) brush, I painted in small strokes with Mustard Seed and Fossilized Amber and began to add in the white (don’t forget to add a little dot for the catchlight in his eye!)
Dry the paint between each layer with your heat tool and then keep building the layers. You can see my brushstrokes are very visible and I love the look of that, but do it in whatever style works for you!
Now that the bird is done, let’s go on to the rest of the card. I cut a panel of backdrops and gave it a wash of Picket Fence Distress Paint so some of the text would show through. I assembled the eggs in the same style as the bird gluing together the layers, then painting them.
For the nest, I cut a few panels of Brown Kraft Stocks and then cut them with Simple Plaid die. I cut one of them into a ‘nest like’ shape and then ripped the others and added them to build the nest. Finally, I cut the world Hello out using the Bold Text 1 dies and some paper from the Warm Kraft Stock Stack and Backed it with a piece of Metallic Cardstock. I stitched some wonky stitching around the outside of the panel and added to a card base. I added Black Soot Distress Paint and Tarnished Brass Splatter over the entire panel to complete the Mixed Media look.
The finished card size is 5 x 7. I hope you enjoyed this tutorial and if you tried painting some birds for yourself, please tag me @cheiron on Instagram if you share!
SUPPLIES:
I participate in an affiliate program through Simon Says Stamp. I receive a commission when products are purchased through links here at this blog. All products linked below the posts of my creations are the actual products I used in creating my projects. I do not and will not share or review products that I would not personally recommend or use.
-
You are unbelievably talented! Love this cool birdie card!
-
Love the look of the whole card and each element! I need to try the technique of how you paint the bird! So good.
Leave a Reply