Your cart is currently empty!
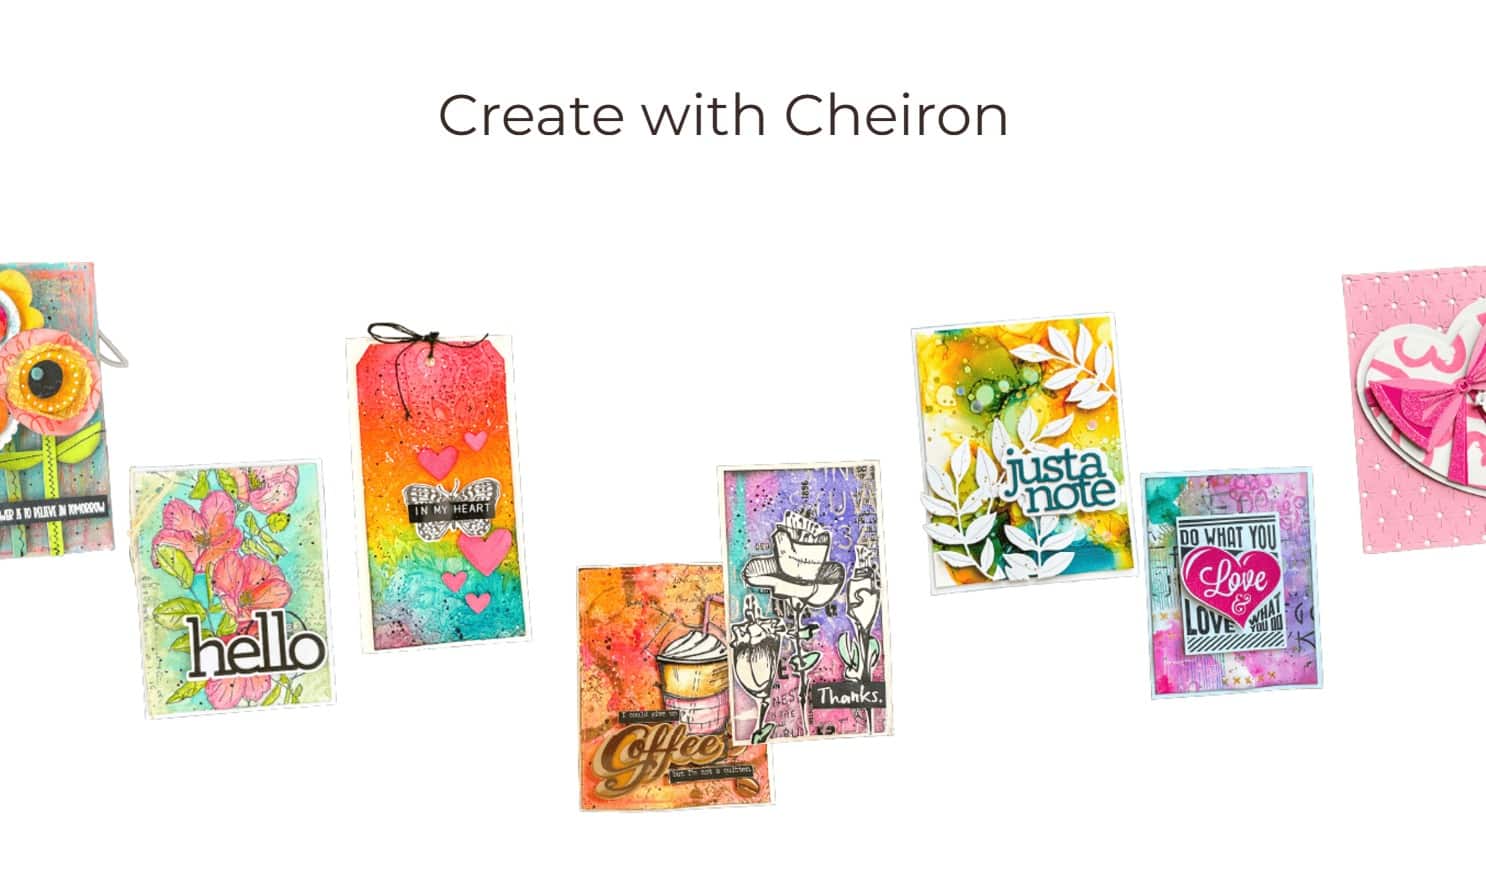
Hi there crafty friends! I am so excited to share my project with you today featuring the new Tim Holtz Sizzix Chapter 3 release. This release has so many dies that are sure to become staples in your making…mini envelopes, coin envelopes, tiny numbers, labels and more! I know these dies are perfect for all of your grungy products, but I think they are also great to make a rainbow too 🙂 I combined several of the new Chapter 3 products to make this Vignette Card File filled with Happy Notes. Each of the notes will fit inside of the coin envelope but I left them out so you could see them all here.
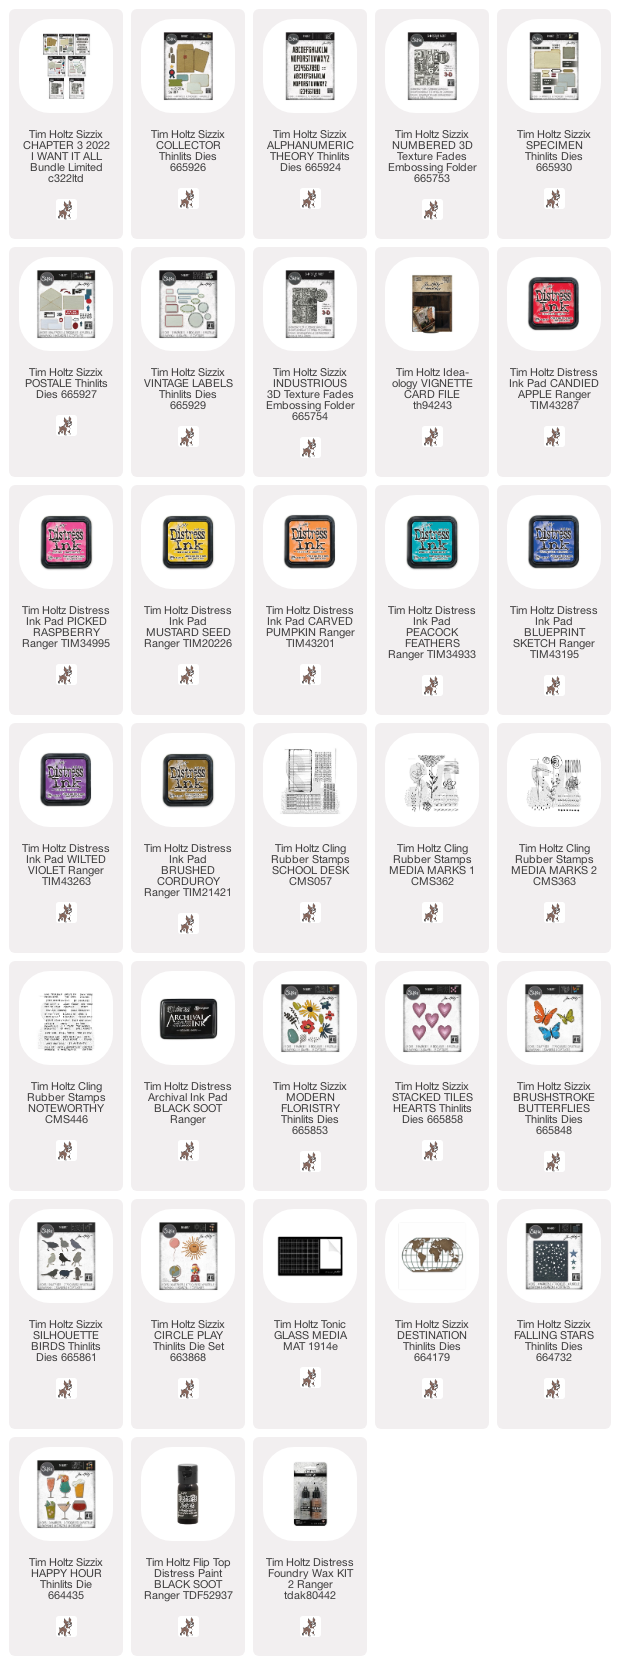
You can find links to the supplies I’ve used at the bottom of this post; click on the picture of shop icon to get taken directly to the product. I use affiliate links which means if you use them to make a purchase I receive a small commission at no extra cost to you 🙂 I truly appreciate your support.
To begin, I created my Vignette Card File. I painted the file black using Black Soot DIstress Paint. I used the new Numbered Texture Fade to cover the outside of the file. I cut it a few times to fit the file exactly, adhered it to file, then gave it a few coats of Black Soot Distress Paint, letting them dry in between. For the metal pull on the file, I wanted it to be silver so I added Sterling Foundry Wax, heat embossed it and scuffed it a bit. And for the tiny tab, I used the word “collect” from the Specimen die set.
To make the envelopes, I cut the envelope from the Collector dies out of Distress Watercolor cardstock and then colored each one by pressing some Distress Ink into my glass mat, spraying it with water and dipping the paper into the ink, drying and layering until I was pleased with the effect. I also did some tone on tone stamping using Distress Oxides and the Media Marks 1 and 2 stamps. To create the Happy Notes tab, I used a card from the Collector dies along with a tab and some little stars. I stamped the card with a stamp from the School Desk set to make it look like notebook paper. Then I cut the words HAPPY NOTES from the Alphanumeric Theory dies papers that I had colored with Distress Inks. I always have a little stash of these papers on hand for small projects like this.
Each envelope has stamping in the same color of Distress Oxide, a label, and some kind of die cut object to go with the color scheme and sentiment. All of the dies that I used are shown in the SUPPLIES list below. For the inside of the envelopes, I created a little card or happy note. To create these I cut the cards from Distress Watercolor cardstock, added watercoloring onto each of the cards to match the envelopes. Then I stamped the cards with the same media marks as the envelopes and added a sentiment to each one from the Noteworthy stamp set to each one for a cohesive look.
I hope you enjoyed this little walkthrough of my project. These dies are all available to ORDER NOW! I can’t wait to see what everyone makes with them.
SUPPLIES:
I participate in an affiliate program through Simon Says Stamp. I receive a commission when products are purchased through links here at this blog. All products linked below the posts of my creations are the actual products I used in creating my projects. I do not and will not share or review products that I would not personally recommend or use.
-
Loved this project so much Cheiron, it would make a perfect gift for someone special that needs a boost each day 🥰 Thank you for sharing your process!!
-
💖🧡💛💚💙💜this so MUCH!!!!! Thank you for your inspiration! Cheers, Makira
-
Great video today love your colors and ideas. Thanks for sharing all your information and giving us new ideas.
-
Love this happy, colourful and oh so creative make!! Thanks for the inspiration and sharing your “how to” notes. ❤️
-
I LOVE this make! I create calendars (4.25 X 5.5) every year for family & friends so coming up with fresh, stimulating and interesting visuals for each month is getting more & more challenging. This just makes me feel like the sky is the limit. I am also in love with the rainbow color palette. I never seem to have enough calandes to have one for myself, but I am going to make one of these for myself. Thank you for sharing your creative mind.
-
🧡💛💚💙💜 these so much! As always, 🙏🙏🙏 for your inspiration and tutorial. I am making a few basic sets of these to give to my girlfriends. Cheers, Makira

Leave a Reply