Your cart is currently empty!
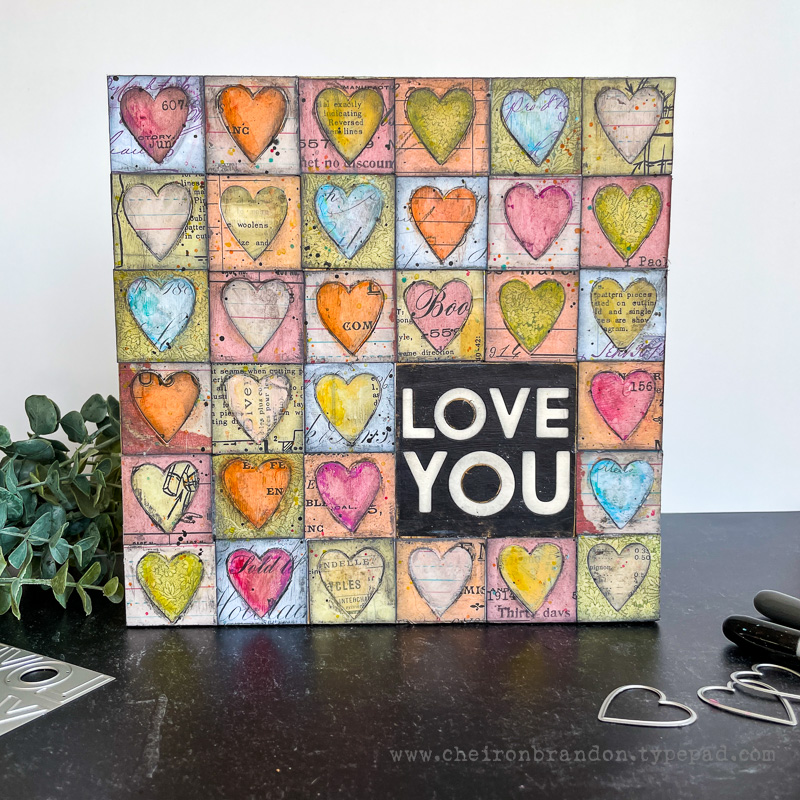
Hi there crafty friends! I have a fun tutorial to share with you today on how to create this Tim Holtz Sizzix Stacked Hearts Vignette Display Panel. Thanks to all of you who reached out for more information on this project for your patience, it has been a very busy couple of months in my studio!
I created this project one evening very late into the night and let’s just say there were hardly any process photos taken. I really wanted to make this project again to share with a friend, so I made another one that is almost identical and this time made a video for you of the process. This is the first video I have to share with you on my You Tube Channel, so please be gentle…the editing is not perfect. I am learning as I am going, but I think you will get the basics concepts of how to put this piece together.
If you are planning to recreate a panel like this, I would recommend breaking it down into steps. Cut the squares and hearts in one sitting, adhere the hearts and sentiment and cover the panel with the collage medium in the second sitting and take a break to let it dry completely, and then go back to add in all of your shading and color, which I think is the most fun part!
Let’s start out with the supplies that I used to create this project:
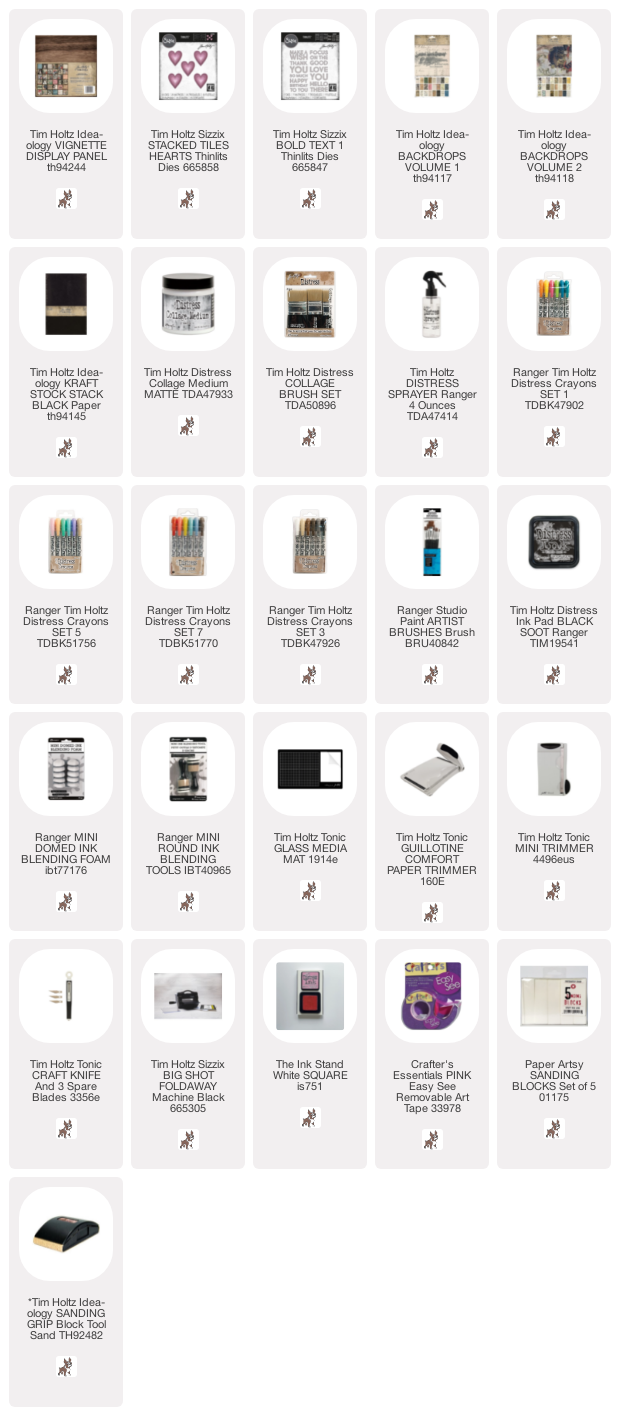
- Tim Holtz Vignette Display Panel (9 x 9)
- Tim Holtz Sizzix Stacked Hearts Dies
- Tim Holtz Sizzix Bold Text 1 Dies
- Tim Holtz Backdrops Papers (I used Backdrops 1 and Backdrops 2)
- Distress Collage Medium
- Distress Collage Brushes or other brush to apply the Medium
- Distress Crayons
Stabilo All Pencil (I got mine at Blick, comes in other colors too)
To begin, I took my Backdrops papers and went through them to pull out papers that were the colors of candy hearts. I picked a pink, orange, yellow, green, blue and and off white with some print on it as my 6th color. You will need 32 1 1/2 in Stacked Hearts squares to cover your panel. The Love You cut from the Bold Text 1 dies will take up the space of 4 squares.
I cut about 10 1.5 inch squares of each color. I cut extra so I had a choice of how much or little pattern (or text) was in each piece of paper and gave myself a variety of patterns to choose from when adhering all my squares down on the panel. Once I had all of my pieces cut out, I adhered them to the Vignette Display Panel. You can cut a piece of paper to the same size of the panel and lay out all of your colors in advance if that makes it easier for you.
Once you have everything set up, you will want to adhere all of your pieces to the panel with Distress Collage Medium. When you are done filling the panel, you will want to add a thin layer of the Distress Collage Medium over the entire panel. This will allow the Distress Crayons that we use in the next step to glide over the paper.
To add the color to my panel, I did a few things. First I went around the edges of each square with the Hickory Smoke DIstress Crayon. Then I used a damp finger to blend it all together. Then I added color to all the hearts and squares with different colors of Distress Crayons and blended them in as well. To really make the dark lines between the squares and the hearts contrast, I took my time and added Stabilo All Pencil in black around everything. Finally, I added splatter to the entire panel by scribbling my Distress Crayons onto my glass mat, spraying the pigments I scribbled out with water and then flicking it onto the panel. Be sure to add a piece of scrap paper over your sentiment before you do this! I hope this was helpful, and if you make a version of this project, I would love it if you shared and be sure to tag me @cheiron so I can see what you’ve made 🙂
SUPPLIES:
I participate in an affiliate program through Simon Says Stamp. I receive a commission when products are purchased through links here at this blog. All products linked below the posts of my creations are the actual products I used in creating my projects. I do not and will not share or review products that I would not personally recommend or use.
-
Oh Cheiron, this is lovely!
-
So wowed my this project….love it so much. You did a terrific job with the video, too. I’ve waited a long time to hear your voice and see you in live action. You are a star. Love what the Distress Crayon did to this piece – really changed the character. I need to revisit mine. This was a true inspiration and I really appreciate it. Hope you are able to do more in the future. Big thanks!!
Leave a Reply