Your cart is currently empty!

tim holtz/sizzix: merry and bright frame tutorial
Hi there crafty friends! Today I am sharing a fun holiday project with you that I created for the Tim Holtz Sizzix Chapter 3 release. This is one of my favorite projects that I created from the release, and besides the frame it is made completely of paper! I’ll walk you through the steps that I did today. I’ll be sharing more of my projects and tutorials during the holiday season, so please make sure you sign up for my email to be notified about new projects, or follow me over on Instagram @cheiron.
This project idea started with this $3 frame from the Target dollar spot. As a crafter, the first stop for me at Target is always the dollar spot and whenever I find any type of fun frames like this, I pop a few into the cart! Another great place to get these is to pick up seasonal decor pieces that are on sale at TJ Maxx, Homegoods, etc. when they are out of season and on clearance. You can always find pieces where you can cover up what is inside the frame.
I’ll take you through the steps today that I did to create this exact project. It does take a bit of time, but don’t feel like you need to do it all in one sitting. A good idea might be to prep the background, and cut all the pieces one day, ink all of the pieces another day and then assemble at the end. That is what I did and it was very enjoyable to create.
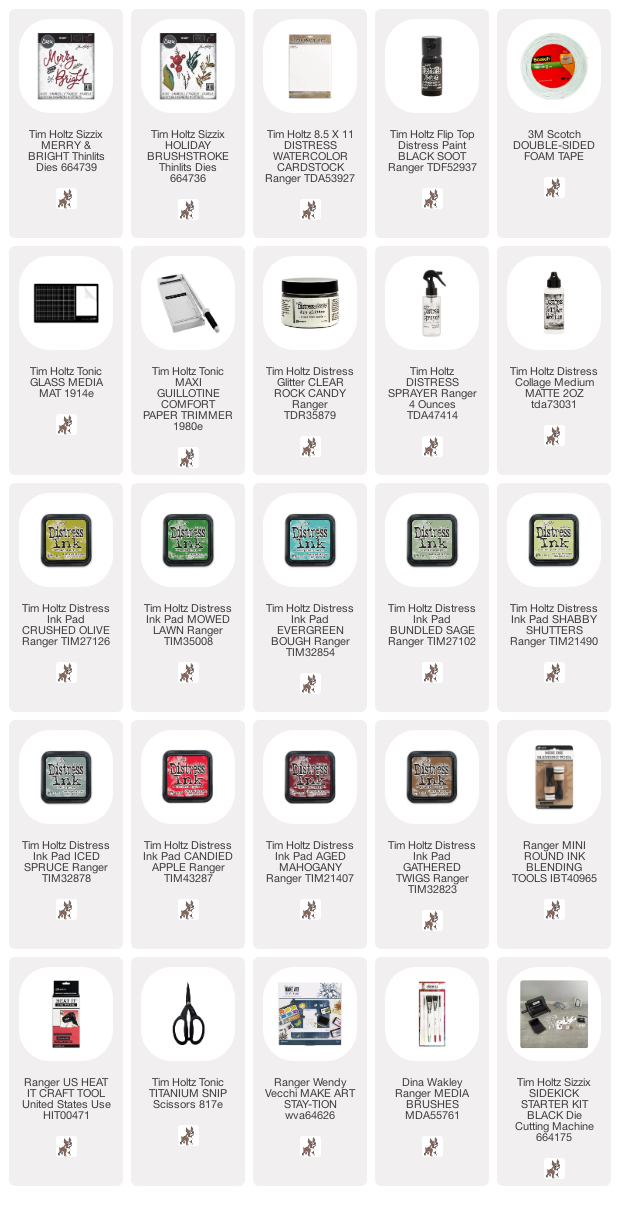
What you will need is the frame or substrate you are going to use, Distress Inks in greens and reds (and a brown), Distress Watercolor Cardstock and the new Merry and Bright and Holiday Brushstroke Sizzix Thinlits dies.
First, I measured the inside of the frame and cut a piece of Distress Watercolor Cardstock to fit inside the frame and painted it with Black Soot Distress paint. I gave it two coats.
Then I created a ton!! of Distress Watercolor Cardstock pieces that I colored with DIstress Inks by swiping them through the Distress Ink that I smooshed onto my Glass Mat sprayed with water from a Distress Sprayer. I added a few layers of ink, drying between each layer. I cut the watercolor Cardstock into 4 1/4 x 2 1/2 pieces so they would fit into my Sidekick for cutting the leaves from the Holiday Brushstroke dies. I used a bunch of different colors of green including Crushed Olive, Evergreen Bough, Mowed Lawn, Bundled Sage, Shabby Shutters, Iced Spruce and reds in Candied Apple and Aged Mahogany. I inked the edges of all the pieces using Gathered Twigs Distress Ink and a foam blending tool. This really makes your pieces pop, so don’t skip this step!
For the berries, I applied Clear Rock Candy Distress Glitter using Distress Collage Medium in matte and let it dry.
Then I cut 3 of the Merry and Bright dies out of Distress Watercolor Cardstock and glued them all together to give the words some dimension.
I placed my paper on the Wendi Vecchi Make Art Stay-tion to hold it down while I figured out where my sentiment would go, and adhered it to the paper.
Once my sentiment was centered and adhered, I added foam tape to the back of all my leafy pieces (don’t pull off the adhesive on the back yet!) and placed them all where I wanted them to go on the frame.
Once I was happy with the placement of all my pieces, I adhered them all down to the paper, turned the paper over and trimmed off any excess with my Tim Holtz Tonic Scissors, so the paper would fit into the frame. To finish it, I used Distress Collage Medium to adhere the piece into the frame. As the final step, I took a piece of chalk and rubbed it over the black paper for a chalkboard look and used my fingers to rub it in.
I participate in an affiliate program through Simon Says Stamp. I receive a commission when products are purchased through links here at this blog. All products linked below the posts of my creations are the actual products I used in creating my projects. I do not and will not share or review products that I would not personally recommend or use.
-
I absolutely LOVE this piece!! The colors the chalkboard feel, the right amount of sparkle!!
-
Terrific project (although I promised myself that I wouldn’t open any blogs related to Christmas – not ready to go there) and wonderful instruction. You are such a brilliant teacher…..maybe someday I can take a class in person. Love how you suggested doing this in stages, as my attention span has really suffered with this CoVid stuff. The dimension you created here is perfect. Thanks, as always, for this wonderful inspiration!



Leave a Reply