Your cart is currently empty!
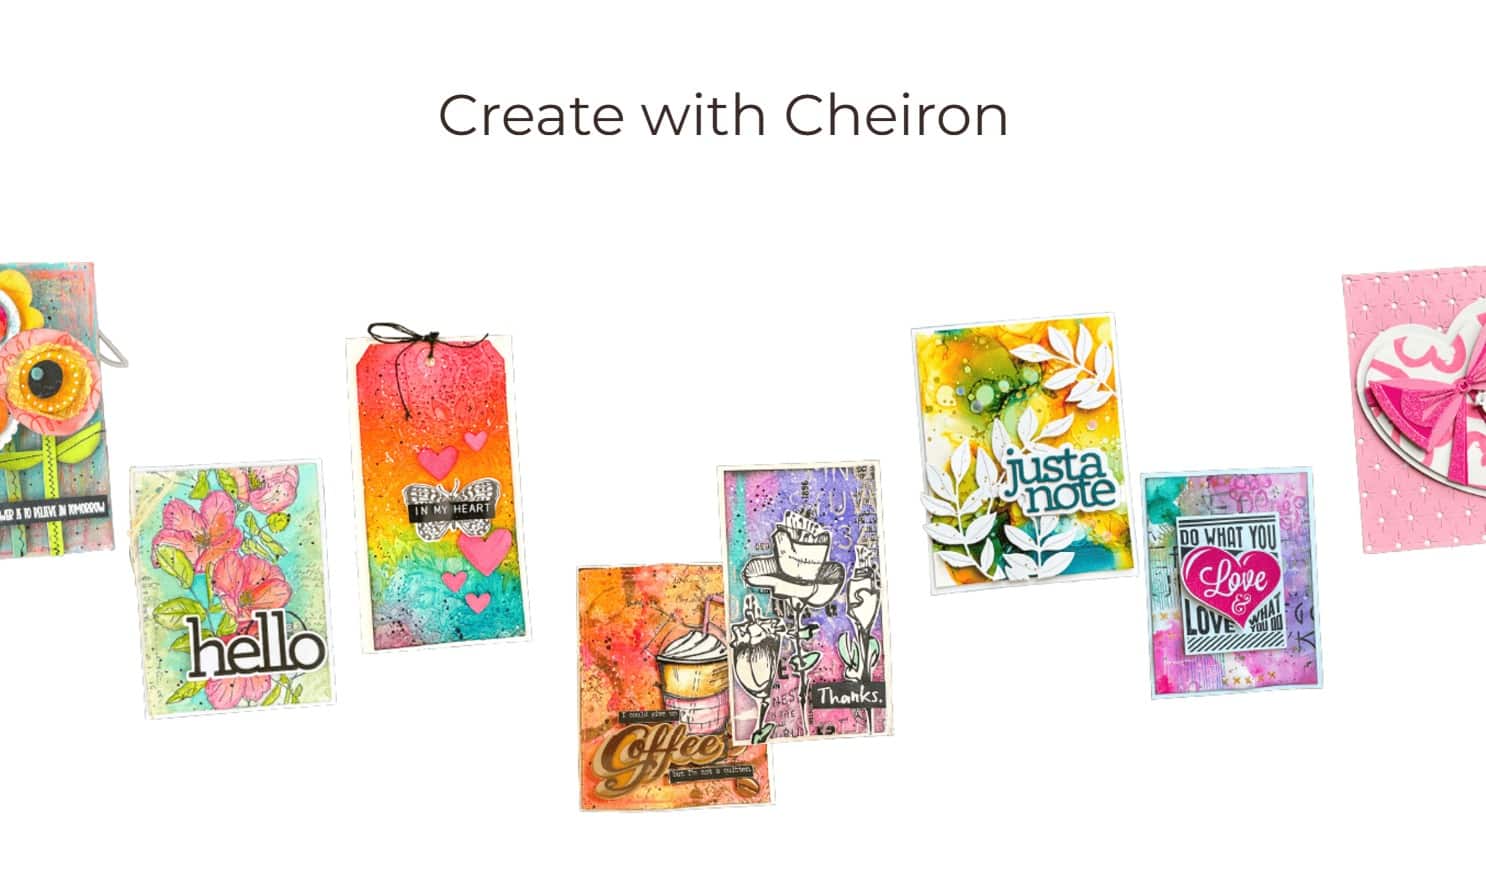
Hi there crafty friends, if you have been following along with Tim Holtz these past few weekends you know that he has been providing us with awesome demos each Saturday over on Facebook Live – if you missed the live, be sure to catch the replay here. Last Saturday's demo was all about the fall vibes, and Tim created a bunch of fall colored combos with us that I could not wait to recreate. One of my favorite techniques was the inky panel with all the colors of fall finished with Distress Mica Spray, I love the bit of subtle shine. I wanted to turn this background into a shaker card and use some of the Sizzix Sequins and Beads mixes that I have in my stash. If you have not seen these, they are tubes full of different sequins and beads sold by color family (or theme).
To create this card, I started by inking a Distress Watercolor panel that I had cut to about 4 x 8 1/2. It's a bit bigger that I need but I like the option to be able to cut out the exact piece I like. I added my inky layers, drying in between each one and when I was finished, I put the panel into my Splatbox and gave the entire thing a mist with Tarnished Brass Distress Mica Spray and dried it with a heat tool. Then, I cut the panel with a Slim Card die to give it that nice, stitched edge.
Once the panel was dry, I wanted to cut out the leaves to make my shaker. I used the new Sizzix Leaf Print dies to create my windows in this panel. These leaf dies are super versatile and give you a few different looks. You can cut the leaf out and it will leave a window like opening in your paper, you can use the insides of the leaves as a textured element and you can also cut the leaf with it's corresponding outline shape to have the outline of the leaf. For this panel, I cut the windows into my panel, then also cut the outline shape using the pair of dies for each leaf to make the outline. I cut these from Lawn Fawn Ground Coffee cardstock which I misted with the Tarnished Brass Distress Mica Spray.
To create the shaker was a bit of a time consuming, but relaxing (to me) process. I added Sookwang (double sided) tape around the border and between all the leaves on the backside of my panel. Then I added a piece of acetate that will sit between my panel and shaky bits. I took foam tape that had been doubled up and carefully arranged it around the back and the leaves to create the shaker. I went around the insides of each "shaker" area with a powder tool so the beads and sequins would not stick to the sides. Then I carefully added the Sizzix Sequins and Beads using a different color for each panel, adding them in rainbow order. I added a piece of cardstock to the back of the panel to create my shaker and then used more Sookwang tape to glue it onto the card panel. For me, it is so much easier to create the shaker piece independent of the card panel, especially with so many colors of shaker bits.
When I was done with the card, I decided to leave it blank on the front and will choose a sentiment to add inside at a later time. I hope you enjoyed this tutorial and please let me know if you try or plan to try this out for yourself. Be sure to stop back to see more tutorials, and please subscribe to my blog if you would like to see more tutorials as they are posted. I'd love if you would follow me on IG @cheiron where I post daily makes and more behind the scenes photos!
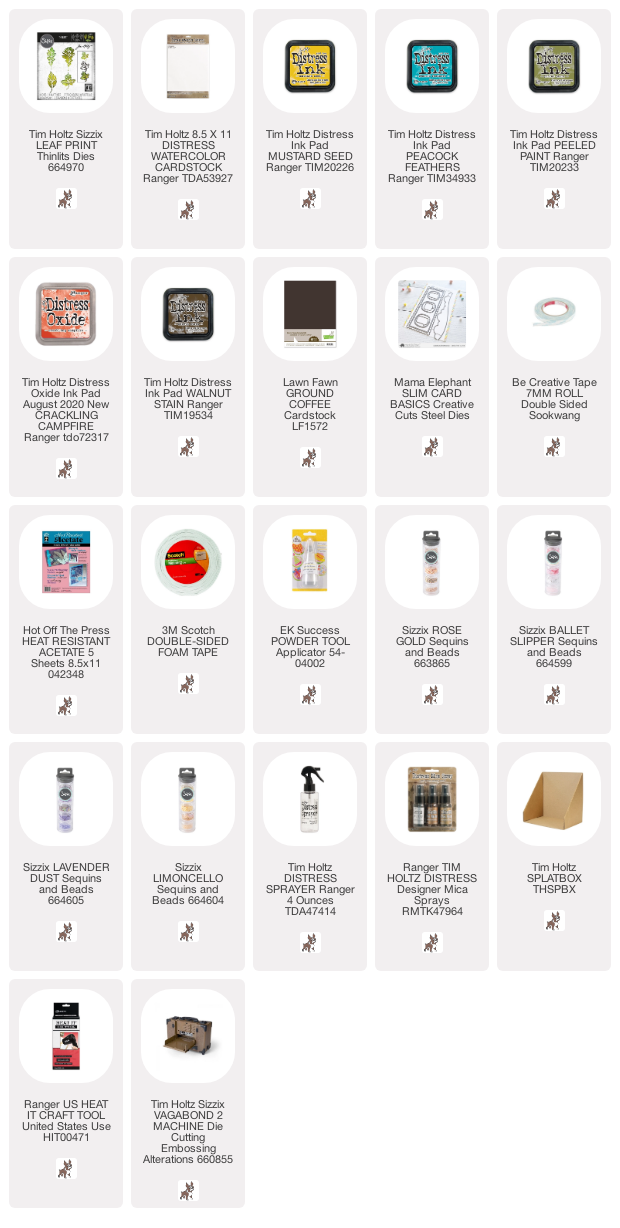
SUPPLIES:
I participate in an affiliate program through Simon Says Stamp. I receive a commission when products are purchased through links here at this blog. All products linked below the posts of my creations are the actual products I used in creating my projects. I do not and will not share or review products that I would not personally recommend or use.
-
this is a BEAUTIFUL card Cheiron. They colors are wonderful and I love that it is a shaker!
-
Wow! What a cool idea!! I’ve got this die & was a bit unsure what to do with it, now I have a much better idea. Thanks so much!


Leave a Reply